Blog
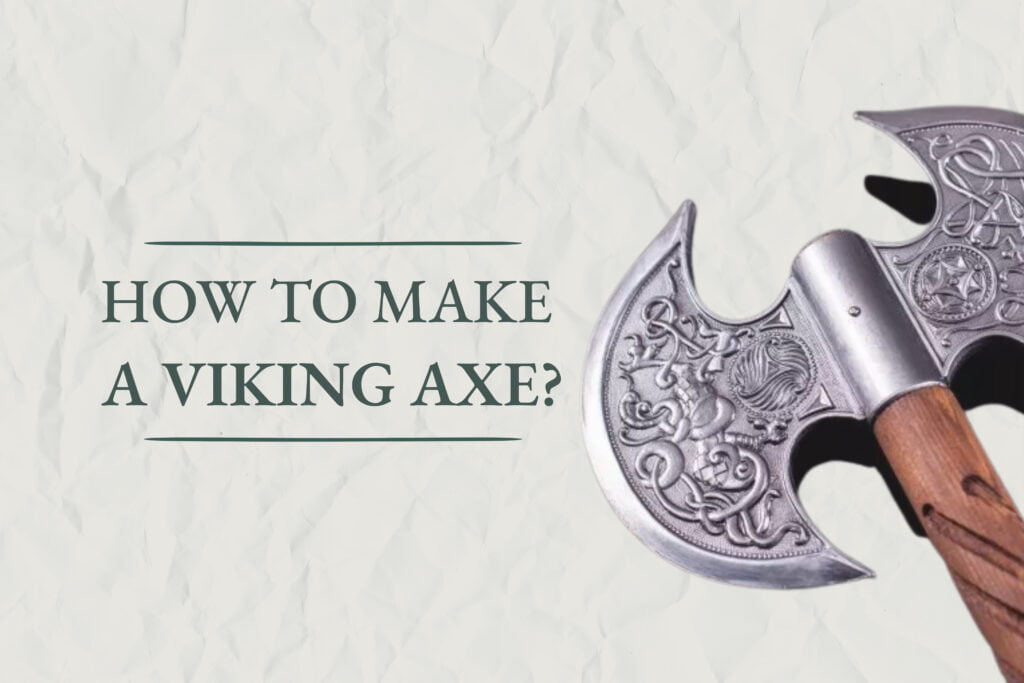
How To Make A Viking Axe?
Oct
An axe is a crucial tool for any Viking. It is a weapon and can also be used for tasks such as chopping wood. If you’ve ever wanted to make your own Viking axe, now’s your chance. This guide will walk you through the process of making a Viking axe, step by step. You only need a little time, patience, and the right tools. So let’s get started.
Viking axe: Primary applications and symbolism
When people think of a Viking axe, they may envision the popular television show Vikings. However, the axes used by the Vikings were much more than just a weapon. The Viking axe was primarily used as a tool for woodworking. Moreover, it was also used as a weapon in close combat situations. The symbolism of the axe is significant as well. It represented strength and power. The axe was also a symbol of Thor, the god of thunder.
What were Viking axe handles made of?
Viking axe handles were made of many different materials, depending on available resources. Wood was the most common material, but bone, horn, and antler were also used. The shape of the axe handle also varied depending on its purpose. Some were straight, while others were curved or contoured to fit the user’s hand. The use of different materials for Viking axe handles allowed for a variety of functions. Horn and antler handles were often used for ceremonial axes as they looked impressive and could be carved with intricate designs.
How to make a Viking-style axe handle?
Making a Viking-style axe handle is not as difficult as it may seem. With a few simple tools and basic woodworking skills, you can create a beautiful and functional axe handle that will last for years.
- You will need to select the wood for your handle. Maple or ash are good choices for durability and strength. Cut the wood to the desired length, adding about 1-inch extra material at the end of the handle.
- Use a router to create a groove down the center of the handle. This groove will allow your axe head to be securely attached to the handle.
- Shape and smooth the wood using sandpaper or a power sander. Be sure to round off sharp edges, so your axe handle is comfortable to hold and use.
How to carve Viking axe handle?
If you thought carving a Viking axe handle is a challenging task, you might be mistaken. With the right tools and a little bit of patience, anyone can do it!
First, you will need to gather the following materials: a piece of wood (preferably oak), a carving knife, and a saw. Once you have all your materials, you will need to find a comfortable workplace. A kitchen table or countertop will work perfectly.
Next, use the saw to cut the piece of wood into the desired shape. Once you have your basic shape cut out, it’s time to start carving! Use the carving knife to carve out any details that you want. Be creative! Remember, there are no rules when it comes to cutting Viking axe handles. Finally, once you are satisfied with your work, sand down the handle until it’s smooth.
How to make a Viking axe head: The complete guide
A Viking axe head is an excellent addition to any home arsenal. Not only does it look cool, but it can also be used for practical purposes. Here is a complete guide on how to make one.
- You will need to gather the following materials: a large piece of metal (preferably iron), a hammer, and an anvil. If you do not have access to an anvil, you can use a large rock or piece of wood as a substitute.
- Use the hammer to shape the metal into the desired axe head. Make sure the edges are nice and sharp – you don’t want your Viking axe head to be dull!
- Attach the handle to the axe head using either nails or screws. And that’s it – your very own Viking axe head is now complete!
How to leather wrap a Viking axe handle?
Assuming you would like tips on how to leather wrap a Viking axe handle:
- Start by finding a piece of leather that is large enough to cover the entire length of the axe handle. If necessary, you can piece together multiple smaller pieces of leather.
- Cut the leather to size, then wet it slightly, making it easier to work with.
- Begin wrapping the leather around the base of the axe handle, making sure to overlap each layer slightly.
- Once you have wrapped the entire handle, use a needle and thread to secure the end of the leather in place.
- Trim any excess leather, then use a damp cloth to smooth any wrinkles or creases.
- Allow the leather to dry completely before using your axe again.
Who makes the best Viking axe?
There are many different types of Viking axes, each with its unique design and function. So, who makes the best Viking axe? The answer to this question depends on what you are looking for in an axe. Some people prefer lighter and easier swing axes, while others prefer heavier axes that can deal more damage.
If you are looking for a light and fast axe, the best option is probably the Icelandic Gaddhjalt. This axe is designed for speed and agility and is perfect for quickly attacking multiple targets.
At the same time, if you want a heavier axe that can deal more damage, then the best option is probably the Norwegian Yxnadottir. This axe is designed for strength and power and can easily take down large targets with a single blow.
The final thoughts
Making your own axe at home is not only possible but can be quite rewarding. Not only will you have a functional tool, but you’ll also have a piece of history that you can use and enjoy for years to come. Celebrate Viking culture with us!